
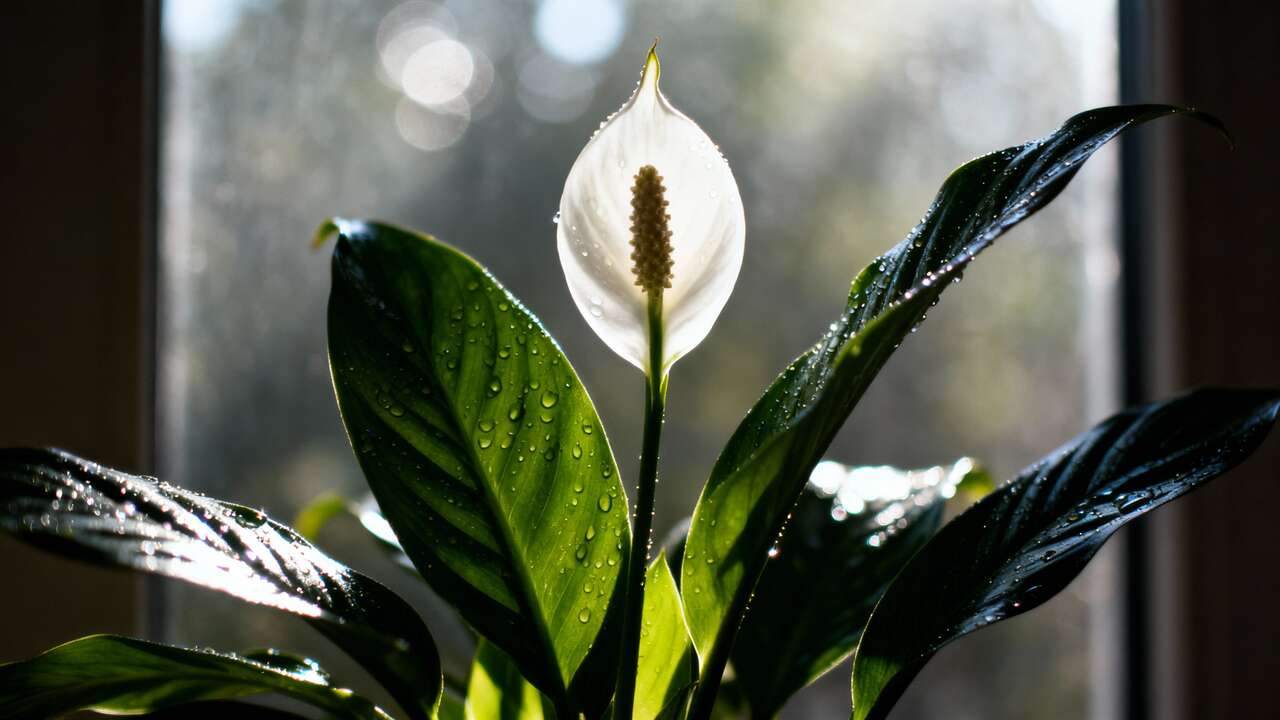

The peace lily, or Spathiphyllum, is a cherished indoor plant, celebrated for its elegant white spathes and lush, dark green foliage. It is a favourite in many homes and offices, not just for its beauty but also for its air-purifying qualities. However, seeing its normally proud leaves suddenly droop can be alarming for any plant owner. This dramatic wilting is often a cry for help, signalling an issue with its care or environment. Fortunately, this common problem is usually reversible with the right knowledge and a few simple techniques, including one particularly effective emergency rescue method.
Understanding the problem with your peace lily
Before jumping to a solution, it is crucial to understand the nature of the peace lily and why it communicates its distress so visibly. This plant’s behaviour is a direct reflection of its environment and the care it receives. Recognising the early signs of trouble is the first step toward effective treatment and long-term health for your plant.
The appeal of the Spathiphyllum
Native to the tropical rainforests of the Americas, the peace lily is adapted to a life under a canopy of trees, where it receives dappled sunlight, high humidity, and consistent moisture. Its popularity as a houseplant stems from its ability to thrive in lower light conditions typical of indoor spaces. The plant is not a true lily but belongs to the Araceae family. Its striking ‘flower’ is actually a spathe, a modified leaf bract that surrounds a fleshy spike of tiny true flowers. Beyond its aesthetic appeal, it is renowned for its ability to filter common indoor pollutants from the air, making it a healthy as well as a beautiful addition to any room.
Decoding the droop
A drooping peace lily is one of the most common issues plant owners face. This wilting is a physiological response known as a loss of turgor pressure. Turgor pressure is the force of water against the inside of the plant’s cell walls, which keeps the leaves and stems firm and upright. When the plant loses water faster than its roots can absorb it, the pressure drops, and the leaves go limp. While this is most often linked to a lack of water, it can paradoxically also be a symptom of too much water, which damages the roots and impairs their ability to function. Therefore, a correct diagnosis is essential.
Understanding the specific cause of the drooping is the key to providing the right remedy. Simply adding more water is not always the answer and could even worsen the situation if the underlying issue is root rot from overwatering. Careful observation of the soil, leaves, and overall environment will guide you to the correct course of action.
Why do leaves droop ?
Several factors can lead to a loss of turgor pressure in a peace lily. While watering is the primary suspect, a holistic assessment of the plant’s conditions is necessary for a full recovery. Environmental stressors and issues below the soil surface can also play a significant role in your plant’s health.
The fine line of watering
Getting the watering balance right is the most critical aspect of peace lily care. Both underwatering and overwatering can cause the leaves to droop, but they require very different solutions. Underwatering is a straightforward problem of dehydration. The plant has used up the available water in the soil, and its cells are losing turgidity. In contrast, overwatering creates an anaerobic environment in the soil, suffocating the roots. Damaged or rotting roots cannot absorb water, leading to the same drooping symptoms as dehydration, even though the soil is wet.
| Symptom | Underwatering | Overwatering |
|---|---|---|
| Soil | Dry, light, and pulling away from the pot’s edges. | Soggy, waterlogged, may have a sour smell. |
| Leaves | Limp and wilted but generally green. May have dry, brown tips. | Limp and wilted, often accompanied by yellowing, especially on lower leaves. |
| Base of Plant | Firm and stable. | Mushy or soft stems near the soil line. |
| Roots | Healthy, white, and firm. | Brown, mushy, and may smell of decay (root rot). |
Environmental factors
Your peace lily’s immediate surroundings can significantly impact its well-being. These tropical plants have specific preferences that, if not met, can cause stress and lead to drooping. Key environmental factors include:
- Light: Peace lilies prefer bright, indirect light. Too much direct sunlight can scorch their leaves and cause them to wilt as they lose moisture too quickly. Conversely, very low light can weaken the plant over time.
- Humidity: Originating from humid rainforests, they thrive in environments with high humidity. Dry indoor air, especially during winter when heating is on, can cause the leaves to droop and their tips to turn brown.
- Temperature: They are comfortable in the same temperatures humans are, typically between 18°C and 29°C. Sudden temperature drops or exposure to cold draughts can shock the plant and cause wilting.
Below the surface: root and soil health
The condition of the soil and the pot is just as important as what happens above. A plant that has become root-bound, meaning its roots have filled the entire pot, will struggle to absorb enough water and nutrients. The soil can also become compacted over time or hydrophobic, where dry soil actually repels water rather than absorbing it. In these cases, even when you water the plant, the moisture may run straight through the pot without ever reaching the root ball, leading to chronic dehydration.
With a clear understanding of what causes a peace lily to droop, we can now explore an immediate and effective rescue technique to revive a thirsty plant. This simple method can often produce a dramatic recovery in just a few hours.
The 10p trick to save your peace lily
When your peace lily is severely drooping due to underwatering, a quick and effective revival method is needed. The “10p trick” is a term for a simple, cost-effective technique that provides rapid rehydration. It does not involve a coin but rather refers to its simplicity and the short amount of time it takes—about ten minutes—to set your plant on the path to recovery.
What is the 10p trick ?
The trick is, in essence, the method of bottom watering by full immersion. Instead of pouring water onto the top of the soil, you submerge the entire pot in water. This allows the dry, compacted soil to slowly and thoroughly absorb moisture from the bottom up, ensuring the entire root ball gets hydrated. It is particularly effective for plants that have become so dry that their soil has become hydrophobic and pulls away from the sides of the pot, a state where top-watering often fails as water simply runs down the gap and out the bottom.
The science of soaking
This method works through the principle of capillary action. The dry soil and roots act like a sponge, drawing water upwards through the drainage holes. This process is more gentle and effective than top-watering for a dehydrated plant because it avoids displacing soil and ensures that water reaches the deepest roots. The ten-minute timeframe is a general guideline; it gives the soil enough time to become fully saturated without leaving the roots in standing water for too long, which could risk suffocation. It is a perfect emergency response for a plant that looks to be on the brink of collapse.
Applying this technique correctly is straightforward and requires no special equipment, making it an accessible solution for any plant owner facing a wilting emergency.
How to apply the rescue method
Executing the 10p trick is simple, but following the steps carefully is key to ensuring a successful revival without causing further stress to your peace lily. The goal is complete rehydration followed by proper draining to prevent the opposite problem of waterlogging.
Step-by-step revival
Follow these instructions to bring your drooping plant back to life:
- Prepare a basin: Find a sink, bathtub, or bucket that is deep enough to hold the plant’s pot. Fill it with several inches of lukewarm or room-temperature water. Avoid using very cold or hot water, as this can shock the plant’s root system.
- Submerge the pot: Gently place your peace lily’s pot into the water. You should see air bubbles escaping from the soil as it begins to absorb the water. Let the plant sit and soak for approximately 10 to 15 minutes. The soil will draw water up through the drainage holes.
- Check for saturation: You will know the soil is fully saturated when the top surface feels moist to the touch and air bubbles stop rising.
- Drain thoroughly: This is a critical step. Remove the pot from the water and place it on a draining rack, in an empty sink, or outdoors. Allow all the excess water to drain away freely for at least 30 minutes, or until it stops dripping. Do not let the plant sit in a saucer full of runoff water.
What to expect afterwards
After the treatment, return the plant to its usual spot, provided it is an appropriate location with indirect light. You should start to see a noticeable improvement within a few hours as the leaves begin to regain their turgor and lift upwards. A full recovery can sometimes take up to 24 hours. This dramatic turnaround is a testament to the resilience of peace lilies when their needs are met promptly.
Once your plant has recovered, the focus must shift from emergency rescue to establishing a consistent and appropriate care routine to prevent the problem from happening again.
Care after treatment
Reviving your peace lily is a great success, but the work does not end there. To ensure your plant remains healthy and vibrant, it is important to reassess and adjust your care routine. Post-treatment care is about creating a stable environment and preventing a relapse into the conditions that caused the drooping in the first place.
Establishing a new routine
Your plant’s recent distress is a clear signal that its previous care schedule was not working. Now is the time to establish a more attentive routine. Instead of watering on a strict calendar schedule, get into the habit of checking the soil. The best method is the finger test: insert your finger into the soil up to the first knuckle. If it feels dry, it is time to water. If it feels moist, wait another day or two and check again. When you do water, do so thoroughly until water runs out of the drainage holes, and then discard the excess from the saucer.
Long-term health considerations
Beyond watering, consider the plant’s overall well-being to promote strong, resilient growth. Key long-term care points include:
- Humidity: Increase humidity by misting the leaves a few times a week, placing the plant on a pebble tray with water, or using a small humidifier nearby.
- Fertilising: Feed your peace lily with a balanced houseplant fertiliser at half-strength every 6-8 weeks during the spring and summer growing season. Do not fertilise a stressed or dormant plant.
- Cleaning: Gently wipe the leaves with a damp cloth every few weeks to remove dust. This not only improves the plant’s appearance but also helps it to photosynthesise more efficiently.
- Repotting: Check if your plant is root-bound annually. If you see a dense mass of roots, it is time to move it to a pot that is only one or two inches larger in diameter.
By adopting these habits, you can provide a stable and nurturing environment. However, even with the best intentions, certain common mistakes can undermine your efforts.
Common mistakes to avoid
Maintaining a healthy peace lily involves avoiding a few common pitfalls that can lead to recurring problems. Being aware of these potential errors can help you provide the consistent care that these elegant plants require to thrive.
Watering woes
The most frequent mistake is an inconsistent watering schedule. Allowing the plant to become bone dry before flooding it with water creates a stressful cycle of drought and deluge. This can weaken the plant over time and make it more susceptible to pests and diseases. Aim for consistently moist soil, not soggy and not parched. Always use pots with adequate drainage holes to prevent water from pooling at the bottom, which is a primary cause of the deadly root rot.
Placement pitfalls
Where you place your peace lily is just as important as how you water it. Many owners make the mistake of placing it in a location that is either too bright or too dark. While they are tolerant of low light, they will not flourish or bloom in a dark corner. Conversely, direct sunlight will scorch their sensitive leaves. Finding the right balance is key.
| Condition | Ideal Placement | Poor Placement |
|---|---|---|
| Light | Near an east-facing window or several feet from a south or west-facing window. Bright, indirect light. | In direct, hot sunlight or in a windowless room with no supplemental light. |
| Temperature | A stable room temperature, away from sudden changes. | Next to a radiator, air conditioning vent, or a draughty door or window. |
Neglecting the leaves
A final common oversight is ignoring the leaves themselves. Dust that accumulates on the large leaves can block light and hinder photosynthesis. Furthermore, failing to inspect the leaves regularly means you might miss the early signs of pests like spider mites or mealybugs. A simple wipe-down with a damp cloth every few weeks keeps the leaves clean, glossy, and functioning properly, contributing to the overall health and vigour of your plant.
By understanding your peace lily’s needs and avoiding these common care mistakes, you can ensure it remains a beautiful and healthy feature in your home for years. A drooping plant is rarely a lost cause; more often, it is an opportunity to learn more about your plant and refine your care, leading to a more rewarding relationship with your indoor garden.

- “Trees Adjacent to Fault Lines Reveal Low-Frequency Vibrations Ahead of Seismic Events” - 20 November 2025
- I’ve Recommended It to My Patients for Years”: The Right Way to Wash Your Hair With Vinegar, According to a Dermatologist - 20 November 2025
- Earth’s Seasons Are Out of Sync, Scientists Discover from Space - 20 November 2025
Related publications:
 “Trees Adjacent to Fault Lines Reveal Low-Frequency Vibrations Ahead of Seismic Events”
 Scientists Uncover Massive Cracks Beneath Greenland Ice Sheet Possibly Tied to Underground Magma Flows
 After 60, This Gentle Activity Outperforms Yoga for Heart and Joint Health
 My Grandma Was Right” Chefs Reveal the Forgotten Trick to Cook Fried Eggs Without Sticking Using No Oil and No Water at All
 The Trick That Horticulturists Keep to Themselves to Make a Wilted Orchid Bloom Again
 No Plastic Wrap, No Plastic Containers: The Trick to Stop Ham and Cheese from Drying Out Once Opened
 Chefs’ Trick to Cook a Baked Potato in Under 10 Minutes Without an Oven or Stovetop
 8 Songs From the 60s and 70s That Make People 60+ Feel 19 Again and Trigger Emotional Nostalgia